Hey there, fellow culinary adventurers!
Today, we’re diving into the delightful world of tagines – those magical cooking vessels from North Africa that have captured the taste buds of foodies worldwide.
If you haven’t heard of tagines before, don’t worry; we’re about to embark on a journey of discovery together.
Picture this: succulent meats, tender vegetables, and an aromatic blend of spices, all gently simmered in a traditional tagine.
The result?
An explosion of flavors that’ll transport your taste buds straight to the vibrant streets of Marrakech or the bustling markets of Tunis.
But here’s the secret ingredient that can take your tagine experience to the next level: using it on a gas stove.
Yes, you heard that right!
By using your tagine on a trusty gas stove, you can achieve the most mouthwatering and authentic results, just like the seasoned cooks in Morocco do.
In this article, we’ll delve into the ins and outs of using a tagine on a gas stove – from choosing the right one to perfecting your cooking techniques.
Whether you’re a seasoned home chef or a kitchen newbie, we’ve got you covered with everything you need to know to create culinary masterpieces with this unique cooking method.
So, fasten your apron and get ready to explore the wonderful world of tagine cooking on a gas stove.
From tantalizing aromas to delightful textures, we promise that your taste buds are in for an extraordinary treat.
Let’s get started!
Related: What Can You Use Instead of a Tagine Pot?
How To Use a Tagine On a Gas Stove?
To use a tagine on a gas stove, follow these steps:
1. Choose the right tagine: Select a tagine suitable for gas stove use, such as ceramic or cast iron.
2. Prepare ingredients: Cut meat and vegetables into uniform pieces for even cooking.
3. Arrange ingredients in the tagine: Layer onions and spices at the bottom for added flavor.
4. Add liquid and seasonings: Pour in broth or water and add your favorite herbs and spices.
5. Place the tagine on the gas stove: Use a burner that matches the tagine’s base size for even heat distribution.
6. Set the heat to medium-low: Allow the tagine to warm up gradually for best results.
7. Monitor the cooking process: Avoid lifting the lid frequently to retain steam and flavors.
8. Adjust the heat as needed: Maintain a slow simmer for tender and flavorful results.
9. Use safety precautions: Handle the hot tagine with oven mitts and avoid sudden temperature changes.
10. Clean the tagine after use: Handwash with mild soap and a soft sponge.
11. Store the tagine properly: Let it cool down before storing it in a cool, dry place.
Recommended: How To Clean a Tagine Pot? (Full Guide)
Understanding the Tagine
Let’s start by demystifying the tagine and uncovering its fascinating history.
At its core, a tagine is a traditional clay or ceramic cooking vessel with a unique design that’s been used for centuries in North African cuisine.
The name “tagine” actually refers to both the pot itself and the delicious dishes it helps create.
What makes the tagine so special is its distinctive cone-shaped lid, which plays a vital role in the cooking process.
As steam rises from the simmering ingredients, it condenses on the sloping sides of the lid and then drips back down into the dish, ensuring that the food remains moist and tender while infusing it with the rich flavors of the spices and seasonings.
Types of tagines available in the market (clay, ceramic, cast iron, etc.)
Now that we have a better grasp of the tagine’s essence, let’s explore the different types available in the market.
Traditional tagines are crafted from clay, and while they add an authentic touch to your cooking, they do require some special care and attention.
If you’re looking for durability and versatility, modern ceramic or cast iron tagines might be your cup of tea.
These alternatives offer excellent heat retention and even distribution, making them perfect for gas stove cooking.
Remember, the material of your tagine can affect cooking times and flavors, so choose wisely based on your preferences and cooking style.
Advantages of using a tagine for cooking on a gas stove
Using a tagine on a gas stove brings with it a plethora of benefits that can truly elevate your culinary game.
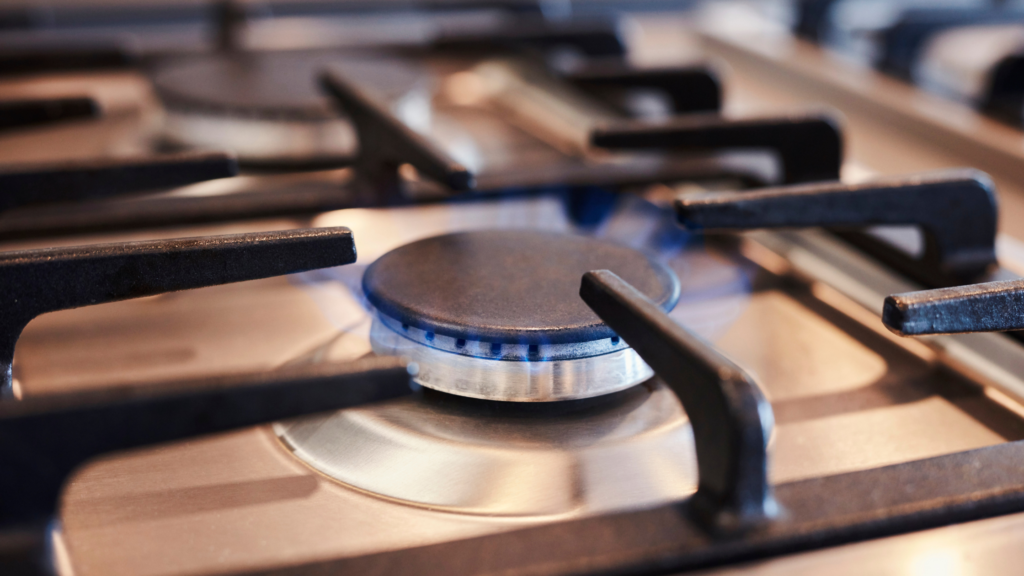
Firstly, the gentle and consistent heat of a gas stove allows the tagine to work its magic, coaxing out the most delicious flavors from your ingredients while keeping them tender and juicy.
One of the most enticing advantages of the tagine is its ability to create incredible one-pot wonders.
As the lid traps and circulates moisture, you’ll find that you need less oil and water, making your dishes healthier and more flavorful.
Additionally, the gas stove’s precise temperature control enables you to maintain a steady simmer, reducing the risk of overcooking and ensuring a perfect harmony of tastes and textures.
So, whether you’re aiming to impress your dinner guests or simply treating yourself to a culinary adventure, cooking with a tagine on a gas stove is a fantastic choice that’ll have everyone asking for seconds.
Choosing the Right Tagine for Gas Stove Cooking
When it comes to finding the perfect tagine for your gas stove, a few crucial factors come into play.
Let’s dive right in and explore what to look for:
- Material and compatibility with gas stoves: As we mentioned earlier, traditional clay tagines work beautifully on gas stoves, but they require some extra care to avoid cracks or damage. If you’re worried about fragility, consider opting for a modern ceramic or cast iron tagine. These materials are sturdy, heat-friendly, and can handle the rigors of a gas stove like champs.
- Size and capacity: Consider the number of mouths you’ll be feeding and the types of dishes you want to prepare. Tagines come in various sizes, so pick one that suits your needs without being too big or small for your regular cooking.
Tips for purchasing a high-quality tagine
Investing in a high-quality tagine is an investment in your culinary adventures. Here are a few tips to guide you in making the best choice:
- Look for reputable brands: Research and read reviews to find trusted brands known for their craftsmanship and durability.
- Check the lid: Ensure the lid fits snugly on the tagine to trap steam effectively. A well-fitted lid is essential for achieving those mouthwatering flavors.
- Handles and glaze: If your tagine has handles, ensure they’re sturdy enough to handle the weight of the dish. Additionally, a smooth glaze inside the tagine helps with cleaning and prevents ingredients from sticking.
- Take note of the color: Tagines come in an array of colors, and while aesthetics are important, remember that dark-colored tagines retain heat better, leading to more succulent results.
Maintenance and care of the tagine to prolong its lifespan
Congratulations on acquiring your dream tagine!
Now, let’s make sure it stays in top-notch shape for many delightful cooking sessions to come:
- Season your tagine: If you have a clay tagine, it’s crucial to season it before the first use. This involves soaking it in water for a few hours and rubbing the inside with olive oil. This process creates a protective layer and prevents cracks during cooking.
- Handle with care: Treat your tagine gently, especially if it’s made of clay. Avoid sudden temperature changes, such as placing it on a cold surface when it’s hot.
- Handwashing is best: Most tagines are not dishwasher-friendly, so opt for handwashing with mild soap and a soft sponge. Avoid harsh abrasives that could damage the glaze.
By giving your tagine the tender loving care it deserves, you’ll extend its life and ensure that it continues to bring you gastronomic delights for years to come.
Now that you’re armed with the knowledge of choosing and maintaining the ideal tagine for your gas stove, it’s time to embark on a culinary adventure that’ll tantalize your taste buds and leave you with unforgettable memories.
Preparing Your Tagine for Gas Stove Cooking
Seasoning a new tagine before its first use
Before diving into your first culinary masterpiece, it’s essential to give your tagine a little TLC through the seasoning process.
This simple step ensures that your tagine performs at its best and imparts authentic flavors to your dishes.
To season your tagine, follow these easy steps:
- Submerge the base and lid of the tagine in water: Fill your sink or a large basin with water and place the tagine pieces inside. Let them soak for at least 4-6 hours or overnight. This step helps the clay absorb water, reducing the risk of cracks during cooking.
- Coat the inside of the tagine with oil: After soaking, remove the tagine from the water and pat it dry. Then, generously rub the interior with olive oil or vegetable oil, making sure to cover every nook and cranny.
- Time for a bake-off: Now comes the fun part! Place the oiled tagine, both the base and the lid, in a cold oven. Set the temperature to around 300°F (150°C) and let it bake for about 1.5 to 2 hours. This process allows the oil to be absorbed into the clay, creating a protective coating.
- Cool and repeat: Once the baking time is up, turn off the oven and let the tagine cool inside before taking it out. You can repeat the seasoning process one more time for extra assurance, and then you’re all set for your inaugural cooking session!
Properly cleaning and drying the tagine after seasoning
Now that your tagine is seasoned and ready for action, let’s talk about how to keep it in tip-top shape after each use:
- Handwash with care: Never place your tagine in the dishwasher, as the harsh detergents and high temperatures can harm the clay or glaze. Instead, hand wash it with mild soap and a soft sponge immediately after use. Avoid soaking it for extended periods, as this can weaken the clay.
- No abrasive materials, please: Skip the scouring pads and abrasive cleaners when cleaning your tagine. Opt for gentle cleaning tools to preserve the seasoning and glaze.
- Air dry: After washing, allow your tagine to air dry completely before storing it. This prevents any unwanted moisture from being trapped and causing damage.
Ongoing maintenance and seasoning for repeated use

As you embark on a culinary journey with your tagine, remember that proper care is an ongoing affair:
- Regular seasoning: To maintain the seasoned layer and enhance the flavors of your dishes, consider reseasoning your tagine every few months or after prolonged storage.
- Cooking with care: While tagines are designed to withstand heat, avoid subjecting them to extreme temperature changes. Always place your tagine on a room-temperature surface or a heat diffuser when using it on a gas stove.
By giving your tagine the love and attention it deserves, you’ll not only extend its lifespan but also elevate your cooking prowess to a whole new level.
Steps to Use a Tagine on a Gas Stove
Now that you have your seasoned tagine and are raring to go, let’s dive into the exciting process of using it on your trusty gas stove. Get your apron on, and let’s get cooking!
Ensuring the stability of the tagine on the gas stove
First things first, let’s ensure that your tagine stays put on the gas stove. Place it on a burner that matches its base size, ensuring a stable and secure fit.
No wobbling allowed here!
You want to avoid any unexpected spills and make sure all those delectable flavors stay safely inside the tagine.
Selecting the right burner size and flame intensity
For the best cooking results, choose a burner that matches the size of your tagine’s base.
This ensures that the heat is evenly distributed across the cooking surface, preventing any hotspots that might affect your culinary masterpiece.
When it comes to flame intensity, keep it moderate.
A gentle, steady flame is the name of the game here. High heat may cause the clay to crack, and we certainly don’t want that!
So, a controlled and consistent flame is the secret to success.
Using a heat diffuser to distribute heat evenly
Want to take your tagine cooking to the next level?
Consider using a heat diffuser between the tagine and the burner.
This nifty little kitchen tool helps distribute heat evenly, minimizing the risk of any sudden temperature changes and ensuring an even cooking experience.
Preparing the ingredients and arranging them in the tagine
The stage is set, and it’s time to gather your ingredients.
Tagine cooking is all about layering flavors, so make sure to prep your meat, vegetables, and spices with care.
Cut them into uniform pieces for even cooking and better presentation.
Once you have your ingredients ready, artfully arrange them in the tagine, starting with a bed of onions and aromatic spices at the bottom.
This base adds a rich depth of flavor to your dish and sets the stage for an unforgettable culinary symphony.
Adding liquid and seasonings for flavor
Now, here comes the juicy part – literally!
Pour in your choice of liquid, such as broth, water, or even fruity juices, to enhance the flavors and keep everything tender.
But remember, don’t go overboard!
You want enough liquid to create steam but not too much that it becomes a soupy affair.
Top it all off with your favorite seasonings, herbs, and spices. This is where you get to infuse your tagine with your unique touch and create a flavor profile that’s all yours.
Placing the tagine on the gas stove and setting the heat
With your tagine filled to the brim with deliciousness, it’s time to place it on the gas stove.
Carefully set it down and ensure it sits securely on the burner. Don’t forget the lid – that’s what makes the magic happen!
Now, it’s time to work your gas stove magic. Set the heat to medium-low, and allow the tagine to gradually warm up.
Remember, patience is key in tagine cooking. Slow and steady wins the race, or in this case, cooks the perfect tagine dish!
Monitoring the cooking process and adjusting the heat as needed
As the aromatic steam starts to dance within the tagine, it’s important to keep an eye on the cooking process.
Every tagine dish is unique, and cooking times may vary depending on the ingredients and their cut sizes.
Throughout the cooking journey, resist the temptation to constantly lift the lid and check on your creation.
Each time you lift the lid, you let precious steam escape, potentially affecting the final outcome. Trust your instincts and rely on your senses – the tantalizing aroma will be your guide!
If you find that your tagine is cooking too quickly or not enough, don’t be afraid to adjust the heat accordingly.
A slight tweak can make a world of difference in achieving that perfect harmony of flavors and textures.
So, there you have it – the art of using a tagine on a gas stove!
With these steps and a dash of culinary flair, you’re well on your way to becoming a tagine maestro.
Cooking Tips for Gas Stove Tagine Cooking
Congratulations, you’ve unlocked the secret to tagine mastery on your gas stove!
Now, let’s sprinkle in some culinary wisdom to ensure your tagine creations are nothing short of extraordinary.
Maintaining a slow and steady simmer for best results
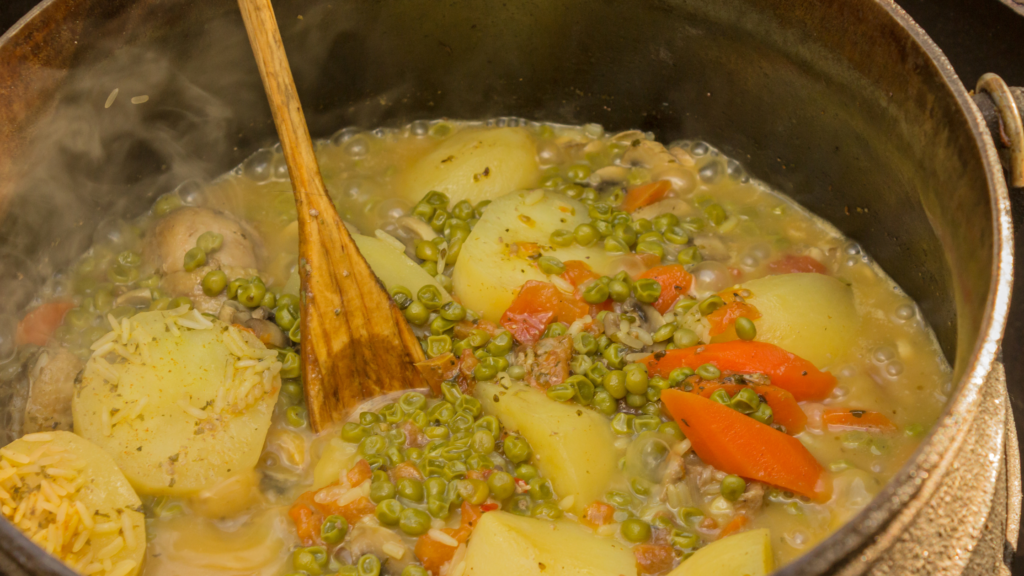
Tagine cooking is all about patience and allowing the ingredients to slowly meld together in a tantalizing dance of flavors.
So resist the temptation to crank up the heat and let your tagine work its magic at a gentle, steady simmer.
A slow cooking process ensures that every ingredient gets ample time to release its full potential, resulting in tender meats, perfectly cooked vegetables, and a symphony of taste that’ll leave you and your guests in awe.
Avoid sudden temperature changes to prevent cracking.
Remember, your tagine is made of clay or ceramic, and as sturdy as it may be, it’s not invincible. Avoid subjecting it to drastic temperature changes, like going from a hot stove to a cold surface or vice versa.
Rapid changes in temperature can cause your tagine to crack, and we definitely want to keep it intact for many more delightful cooking adventures.
Instead, handle your tagine with care and let it gradually adjust to room temperature before cleaning or storing it after use.
Experimenting with different recipes and ingredients
The world of tagine cooking is your oyster, and it’s time to let your culinary creativity shine!
Don’t be afraid to experiment with various recipes and ingredients, exploring the endless possibilities of tagine cuisine.
North African cuisine boasts an array of tantalizing herbs and spices, such as cumin, coriander, saffron, and cinnamon.
Embrace these exotic flavors and add your unique twist to create tagine masterpieces that reflect your personal taste and style.
Enhancing flavors with herbs and spices typical of North African cuisine
Speaking of flavors, don’t forget to delve into the rich tapestry of North African herbs and spices.
Consider using a blend of traditional spices, like Ras el Hanout, to infuse your tagine with an authentic North African charm.
Fresh herbs like cilantro or parsley can also work wonders in elevating your dish to new heights of deliciousness.
And remember, the beauty of tagine cooking lies in its versatility, so feel free to tailor the spices and seasonings to your liking, adapting each dish to suit your preferences and those of your fellow adventurers at the dinner table.
With these cooking tips under your apron, you’re all set to unleash your inner tagine virtuoso!
Embrace the slow, simmering magic of this traditional North African cooking vessel and let your gas stove be the canvas for your culinary artistry.
So gather your ingredients, fire up that gas stove, and let your tagine create a feast that’ll transport you to the enchanting world of North African cuisine.
Safety Precautions
While tagine cooking is an exhilarating culinary adventure, we must keep safety in mind to ensure a smooth and enjoyable experience.
Here are some essential safety precautions to keep you and your tagine out of harm’s way.
Handling the hot tagine safely
Ah, the tantalizing aroma of your freshly cooked tagine is enough to make anyone eager to dive right in.
But before you do, remember that your tagine is piping hot! So exercise caution when handling it.
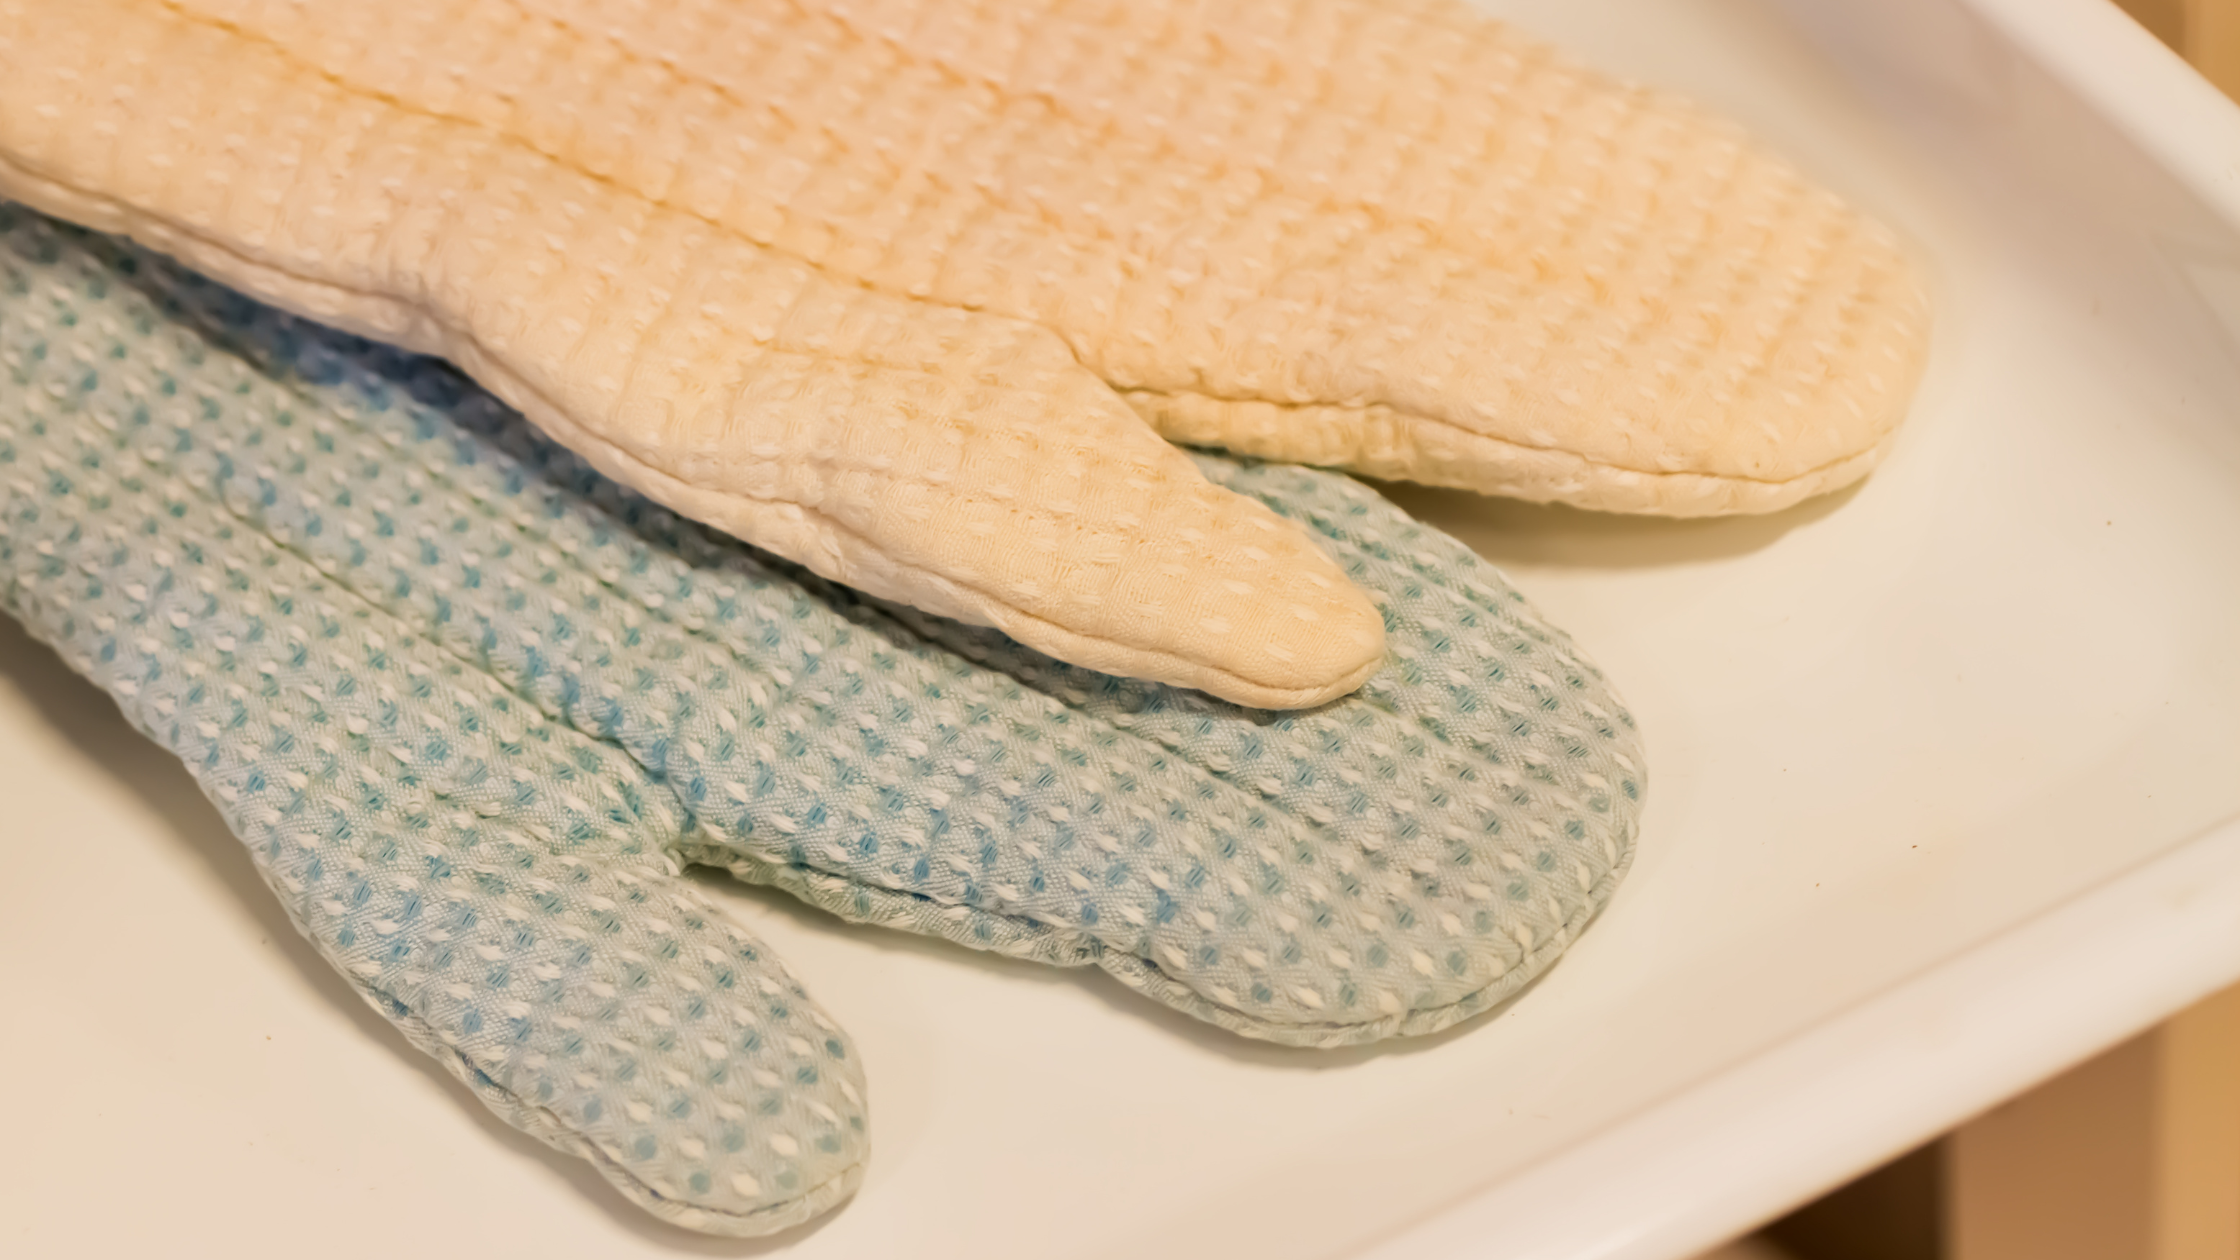
Always use oven mitts or thick kitchen towels to handle the hot tagine. The clay or ceramic material retains heat for a while, and you don’t want any unintentional “ouch” moments.
It’s better to be safe than sorry, especially when dealing with a dish that’s packed with mouthwatering goodness.
RELATED: Do Tagine Pots Go In The Oven?
Using oven mitts and pot holders to prevent burns
You know what they say – safety first, deliciousness second!
When removing the tagine from your gas stove or oven, don’t forget to use those trusty oven mitts or pot holders.
The last thing you want is a culinary masterpiece paired with an unwanted burn.
Keep those mitts close by, and remember to place your hot tagine on a heat-resistant surface to protect your countertops and dining table. Let the tagine cool down before serving your flavorful creation to hungry diners.
Cooling down the tagine before cleaning or storing
As tempting as it may be to immediately clean up after a delightful meal, it’s crucial to let your tagine cool down before tackling the task.
Rapid temperature changes could lead to cracks or damage, and we want your tagine to stay in top-notch condition for future culinary escapades.
Allow the tagine to cool down naturally to room temperature before cleaning or storing it.
This simple step ensures the longevity of your beloved cooking vessel and keeps it ready for many more delicious tagine adventures.
By following these safety precautions, you can focus on the joy of creating culinary wonders with your tagine while keeping any mishaps at bay.
So, let’s prioritize safety, celebrate your tagine triumphs, and savor the delightful flavors that only this unique cooking vessel can deliver.
With your gas stove and tagine in perfect harmony, you’re now equipped to embark on a culinary journey that’ll leave a lasting impression on your taste buds and warm the hearts of everyone fortunate enough to share in your delicious tagine feasts.
Troubleshooting Common Issues
As with any culinary adventure, sometimes even the most seasoned chefs encounter a hiccup or two. Fear not!
We’re here to guide you through some common tagine troubleshooting so that you can conquer any cooking challenge that comes your way.
Addressing potential problems with uneven cooking
You’ve patiently prepared your tagine, arranged the ingredients with love, and set the heat just right. Yet, you notice that some parts of your dish are cooking faster than others – what to do?
Fear not, intrepid cook! Uneven cooking can happen due to variations in ingredient sizes or inadequate heat distribution.
To combat this issue, try rotating the tagine occasionally during the cooking process. This simple step allows for more even heat exposure, ensuring that every part of your creation cooks to perfection.
Also, keep an eye on your heat source.
If you notice that one side of the tagine is receiving more direct heat than the other, consider using a heat diffuser or adjusting the position of your gas stove burner to achieve a balanced cooking experience.
Preventing tagine cracking during cooking
Seeing cracks in your beloved tagine can be disheartening, but with a few precautions, you can prevent them from forming in the first place.
Firstly, avoid sudden temperature changes. As we mentioned earlier, always let your tagine adjust to room temperature before cleaning or storing it.
Additionally, when placing your tagine on the gas stove, do so gently, avoiding any rough movements that might cause stress on the clay or ceramic.
If you’re using a clay tagine, remember to season it properly before the first use. This helps create a protective layer, reducing the risk of cracks during cooking.
Lastly, be mindful of your cooking times. A slow and steady simmer is the way to go, so resist the urge to rush the cooking process.
Patiently allow your tagine to work its magic, and the results will be well worth it.
Dealing with food sticking to the tagine’s surface
A little food sticking to the tagine is a common issue, but fret not – there’s an easy solution.
To prevent sticking, make sure to use ample oil or liquid when preparing your tagine dish.
This helps create a barrier between the ingredients and the tagine’s surface, reducing the chances of anything getting stuck.
Another helpful trick is to soak your tagine in water for a short period before use. This can help reduce sticking, especially with clay tagines.
However, avoid soaking for too long, as prolonged exposure to water might weaken the clay.
If some stubborn bits still manage to cling to your tagine after cooking, don’t worry. A gentle soak and a soft sponge during handwashing should do the trick without damaging the seasoning or glaze.
With these troubleshooting tips in your kitchen toolkit, you’re well-equipped to handle any tagine-related challenge that comes your way.
Remember, cooking is an art, and sometimes the best discoveries come from a little experimentation.
So, go forth with confidence, let your culinary creativity soar, and let your tagine cooking adventures be filled with delicious successes and unforgettable flavors!
Cleaning and Maintenance
Ah, the culinary masterpiece is complete, and your taste buds have been treated to a symphony of flavors.
Now it’s time to show your tagine a little post-cooking love and care.
Here’s how to keep your tagine in top-notch condition for many more gastronomic adventures.
Steps for cleaning the tagine after each use
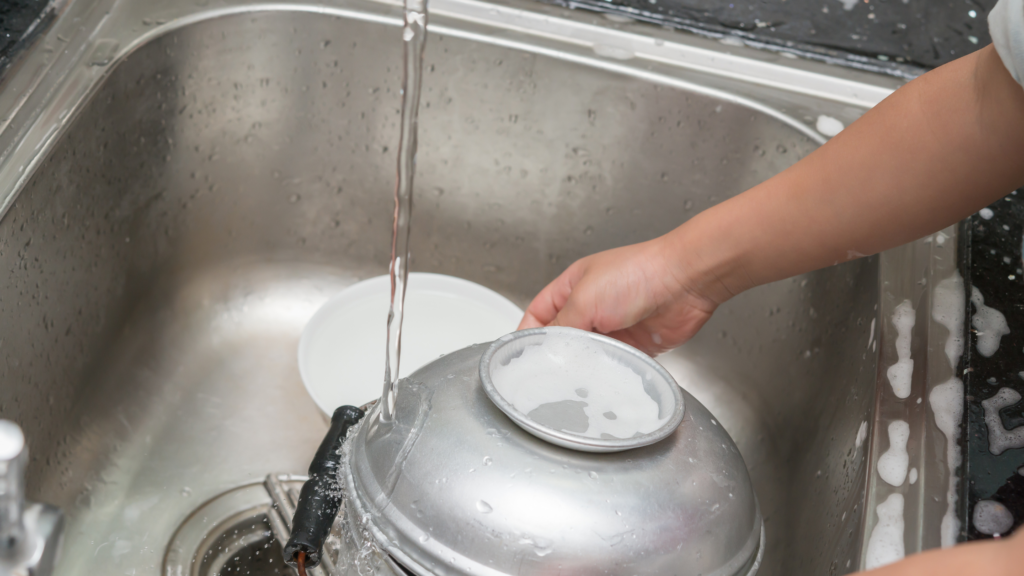
Cleaning your tagine after each cooking session is a vital part of its maintenance routine. But fear not – it’s a breeze, and with a little TLC, your tagine will be ready for its next culinary escapade.
- Let it cool down: Before diving into the cleaning process, let your tagine cool down to room temperature. A sudden temperature change during cleaning could cause damage to the clay or glaze.
- Soak and handwash: Fill the tagine with warm water and let it soak for a few minutes to loosen any stuck-on food particles. Then, gently handwash the tagine with mild soap and a soft sponge. Avoid using harsh abrasives that could damage the glaze or seasoning.
- Rinse and dry: Thoroughly rinse the tagine to remove any soap residue. Once it’s clean, let it air dry completely before storing it. A fully dry tagine prevents moisture buildup and helps maintain its pristine condition.
Check: How To Clean a Tagine Pot
Removing stains and residue from the tagine
Stains or residue can sometimes cling to your tagine, but fret not – we have a few tricks up our sleeve to tackle them with ease.
- Lemon and salt: For mild stains, cut a lemon in half, dip it in salt, and gently scrub the stained areas. The lemon’s acidity and the abrasive salt work together to lift stains without harming your tagine’s surface.
- Baking soda paste: For tougher stains, create a gentle paste using baking soda and water. Apply the paste to the stained areas and let it sit for a while. Then, use a soft sponge to scrub away the residue, revealing a clean tagine underneath.
Remember, the goal is to remove stains without being too abrasive.
Gentle cleaning methods preserve the seasoning and glaze, keeping your tagine in prime condition for future culinary delights.
Properly storing the tagine to avoid damage
After each adventure, it’s time to bid your tagine adieu for a little while. Proper storage ensures it stays safe and ready for your next culinary rendezvous.
- Fully dry the tagine: Before storing, ensure your tagine is thoroughly dry. Any leftover moisture could lead to damage or mold growth.
- Separate the lid: Store the tagine with the lid separately, allowing both pieces to breathe. Placing the lid upside down or on its side is a good idea to maintain proper air circulation.
- Cover with a cloth: Cover the tagine with a clean cloth or towel for extra protection. This safeguards it from dust and prevents any accidental bumps or scratches.
- Choose a cool, dry spot: Find a cool and dry spot in your kitchen or pantry to store your tagine. Avoid areas near heat sources or direct sunlight, as these can cause unnecessary stress on the tagine’s material.
With these simple cleaning and storage practices, your tagine will remain a trusty companion, ready to whip up delightful dishes whenever you’re in the mood for a culinary adventure.
Conclusion
As we come to the end of our tagine adventure, let’s take a moment to savor the delicious benefits of using a tagine on your gas stove.
This unique cooking vessel has shown us the true essence of North African cuisine, capturing the hearts and taste buds of culinary enthusiasts worldwide.
Recap the benefits of using a tagine on a gas stove

Cooking with a tagine on a gas stove has unlocked a world of delectable possibilities.
The gentle and steady heat of the gas stove allows the tagine to work its magic, creating succulent dishes infused with rich flavors and tantalizing aromas.
With even heat distribution and precise temperature control, your tagine dishes are destined for perfection.
One-pot wonders, healthier cooking, and a symphony of flavors – the tagine on a gas stove truly is a match made in culinary heaven.
From tender meats to perfectly cooked vegetables, every dish will leave you and your guests in awe of the magic that unfolds within this traditional North African cooking vessel.
Explore the rich world of North African cuisine
Our tagine journey has only scratched the surface of North African cuisine, a treasure trove of tantalizing spices, aromatic herbs, and traditional dishes waiting to be explored.
With your newfound tagine skills, why not venture further into the culinary delights of Morocco, Tunisia, or Algeria?
Experiment with iconic tagine recipes like the hearty lamb tagine with prunes or the mouthwatering vegetable tagine with preserved lemons.
Embrace the vibrant flavors and cultural heritage of North African cuisine, infusing your tagine creations with your own personal touch.
Final tips and words of inspiration for successful tagine cooking on a gas stove
As you embark on your tagine cooking adventures, remember these final tips to ensure success:
- Patience is a virtue: Let the slow, simmering magic of tagine cooking work its wonders. Embrace the journey, and savor the anticipation of the delicious meal that awaits.
- Tagine mastery comes with practice: Don’t be discouraged by the occasional hiccup. Every culinary artist faces challenges, but with each dish, you’ll refine your skills and create culinary masterpieces.
- Trust your instincts: Tagine cooking is an art, and sometimes the best recipes are born from a little experimentation and a dash of creativity.
- Share the love: Tagine cooking is a journey best enjoyed with family and friends. Gather your loved ones around the table and let them savor the delightful flavors you create.
So, fellow culinary adventurers, let the fragrant spices, tender meats, and vibrant vegetables take center stage in your tagine creations.
Embrace the art of slow cooking, let your gas stove and tagine dance in harmony, and embark on a flavorful journey that’ll leave a lasting impression on your taste buds and hearts.
With your tagine prowess and your gas stove as your loyal partner, there are no culinary boundaries to what you can achieve.
So, let the culinary magic begin, and bon appétit!
Happy tagine cooking!

