Hey there, all you home bakers and kitchen warriors!
Today, we’re going to dive into a topic that might not be as exciting as whipping up a batch of delicious chocolate chip cookies, but it’s just as crucial for your culinary conquests – stand mixer maintenance!
Yep, that unsung hero in your kitchen deserves some TLC to keep churning out those mouthwatering masterpieces.
Now, you might be wondering, “Why should I bother with all this maintenance stuff?”
Well, my dear friends, let me tell you, it’s the secret sauce to keeping your stand mixer performing at its peak.
Just like a trusty steed needs grooming and care, your mixer craves a little attention too.
Not only will it extend the life of your prized kitchen companion, but it’ll also ensure that your cookie dough is always silky smooth and your cake batters are light and fluffy.
In this culinary adventure, we’ll be your guides to a spotless and well-oiled stand mixer journey.
We’ll cover everything from cleaning the nooks and crannies of your mixer’s exterior to giving those hardworking attachments a well-deserved spa day.
You’ll learn the dos and don’ts of maintenance, so your mixer can continue waltzing its way through doughs and batters with grace.
But wait, there’s more!
We’ll sprinkle in some troubleshooting tips and tricks, so you’ll be ready to tackle any pesky mixer mishaps that may come your way.
We’ll even share some laughable mishaps from fellow bakers, just to remind you that we all have our kitchen “oops” moments.
So, whether you’re a baking enthusiast or a pro pastry chef, stick around and get ready to whip your stand mixer into tip-top shape.
We promise it’ll be a mix of fun and helpful advice to make sure your baking journey is smooth, your stand mixer is happy, and your culinary creations are downright legendary!
Now, let’s get mixin’ and cleanin’, shall we?
Off we go!
How Do You Clean a Stand Mixer? (Quick Steps)
To clean a stand mixer, follow these steps:
1. Unplug the stand mixer before cleaning to ensure safety.
2. Disassemble detachable components like the bowl, beater, and attachments.
3. Wipe the exterior of the mixer with a damp cloth for regular cleaning.
4. For tough buildup, use baking soda paste or vinegar to remove stains.
5. Handwash detachable components with warm soapy water or check if they are dishwasher-safe.
6. Dry all components thoroughly before storing them away.
7. Clean under the motor head by tilting it back and using a soft brush or cloth.
8. Avoid submerging the stand mixer in water to prevent damage to electrical parts.
9. Regularly lubricate moving parts and check for loose screws or bolts for smooth operation.
10. Follow the manufacturer’s maintenance guidelines for optimal performance.
By following these steps, your stand mixer will be kept in excellent condition, ready to assist you in your baking adventures!
Related: What Can You Make With a Stand Mixer?
Safety Precautions
Ah, safety first, my fellow kitchen adventurers!
We all know that tackling a recipe can be an exhilarating experience, but let’s not forget to take a moment and talk about some stand mixer safety precautions.
After all, we want you to enjoy the magic of baking without any kitchen calamities!
Unplug the stand mixer before cleaning
Unplugging the stand mixer before cleaning might seem like an obvious rule, but hey, even the most seasoned bakers can get caught up in the excitement of their culinary escapades.
Before you dive into cleaning mode, give that trusty mixer a break and unplug it from the electrical outlet.
Safety always comes first, and it’s a simple step that’ll save you from any accidental mix-ups – the kind you don’t want in your kitchen!
Handling sharp attachments with care
Now, let’s talk about those attachments – they’re like the sword and shield of your stand mixer, ready to take on any recipe that comes their way.
But remember, with great attachments comes great responsibility. Those blades and beaters can be sharp, and they’re not to be trifled with.
So, handle them with care, like the prized kitchen tools they are. Keep your fingers away from the cutting edges and store them safely when not in use.
We want your culinary adventures to be filled with delicious triumphs, not kitchen battle wounds!
Avoiding water contact with electrical parts
Ah, the classic “water and electricity” rule – we all learned about this one in school, right? It applies to stand mixers too, and we can’t emphasize it enough.
Keep water and other liquids far, far away from those sneaky electrical parts of your mixer. No one likes a shocking surprise, especially in the kitchen.
So, be mindful while cleaning and avoid any water spills that might lead to an unplanned electrical dance party.
Remember, my friends, by following these simple safety precautions, you’ll not only keep yourself safe but also ensure that your stand mixer stays in top-notch condition for many culinary escapades to come.
Now that we’ve got our safety helmets on (figuratively, of course), let’s move on to the fun part – the actual cleaning and pampering of our beloved mixer!
So, tighten those apron strings, and let’s get ready to give your stand mixer the VIP treatment it deserves!
Understanding the Stand Mixer’s Components
Alright, my kitchen comrades, before we dive into the nitty-gritty of cleaning, let’s take a moment to understand the magnificent beast that is your stand mixer.
You might think it’s just a pretty face with a bowl and some beaters, but oh, there’s so much more to it than meets the eye!
Breakdown of the stand mixer parts
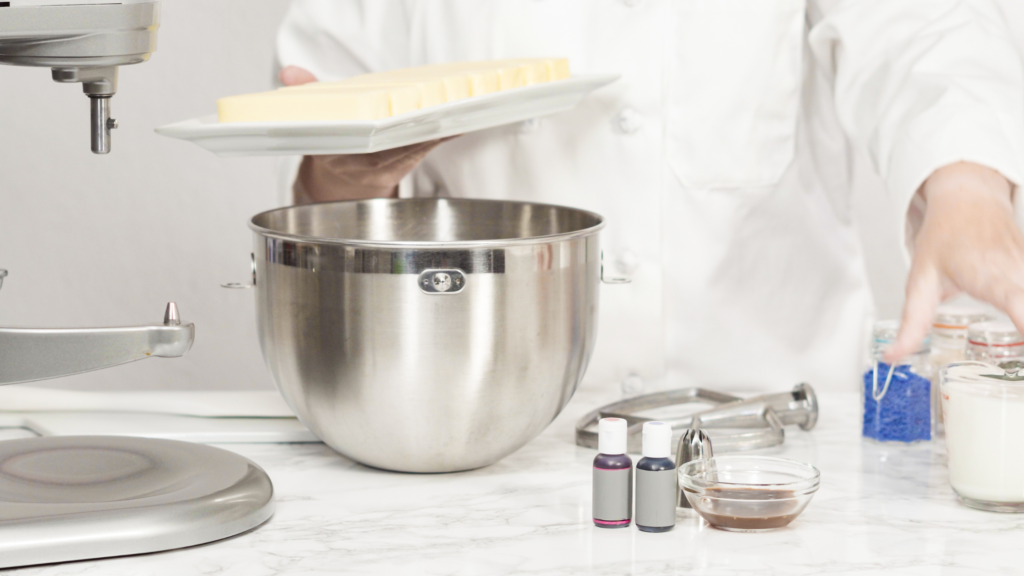
Let’s start with the breakdown of the stand mixer parts – consider it a crash course in stand mixer anatomy 101!
We’ve got the motor head, that brainy part that makes the magic happen, controlling the speed and power.
Then there’s the sleek base, keeping your mixer steady like a rock during those intense mixing sessions. And of course, the bowl, where all the mixing marvels take place!
Don’t forget those trusty attachments, like the whip, the beater, and the hook, each with its special powers to conquer different recipes.
Identifying detachable components
Now, let’s talk about detachable components. Imagine your stand mixer as a transforming robot (minus the explosions, of course).
Some parts can be popped off and swapped out for others, like a kitchen superhero changing costumes!
These detachable components make cleaning and maintenance a breeze.
So, get familiar with those quick-release buttons and levers – they’re like secret passageways to mixer greatness!
Understanding the function of each part
Understanding the function of each part is like deciphering a cooking code – it’s the key to unlocking the full potential of your stand mixer.
The whip attachment is the gentle persuader, turning egg whites into fluffy clouds. The beater is a sturdy workhorse, perfect for cookie dough and cake batters.
And then there’s the hook, the dough whisperer, kneading and massaging dough like a master baker.
By getting to know each part and its superpowers, you’ll be ready to conquer any recipe that comes your way.
So, next time you put on your baking cape and apron, you’ll feel like a true stand mixer maestro, confidently knowing which attachment to call upon for any culinary challenge.
Now, with our stand mixer knowledge polished and gleaming, it’s time to roll up our sleeves and get ready to give those components the care and love they deserve.
A sparkling and well-understood stand mixer is a baker’s best friend, and we’re on a mission to make sure your kitchen sidekick is in tip-top shape!
So, join us on this epic cleaning quest, and together, we’ll whip up wonders and mix our way to kitchen greatness!
Onward, kitchen crusaders!
Cleaning the Exterior
Ah, the glamorous task of cleaning the exterior – don’t worry, we’ll make it as fun and painless as possible!
Just like wiping off a bit of flour from your nose after an intense baking session, cleaning the outside of your stand mixer is a piece of cake.
Using a damp cloth for regular wiping
Let’s start with the basics – a damp cloth is your trusty sidekick for regular wiping. Treat your stand mixer like the kitchen royalty it is and give it a gentle wipe-down after each use.
A little love goes a long way!
Those flour and sugar specks won’t know what hit them when you come armed with your damp cloth. It’s a quick and easy way to keep your mixer looking fresh and ready for action.
Removing stubborn stains and food residue
But hey, we all have our moments of kitchen messiness, and sometimes a simple wipe-down won’t cut it.
That’s when you need to deal with those stubborn stains and food residue like a stand mixer superhero!
Grab a secret weapon from your cleaning arsenal, like a baking soda paste or a mild detergent solution.
Gently scrub away those persistent marks, and watch your mixer transform from a kitchen battle zone to a gleaming beacon of culinary awesomeness!
Choosing suitable cleaning agents
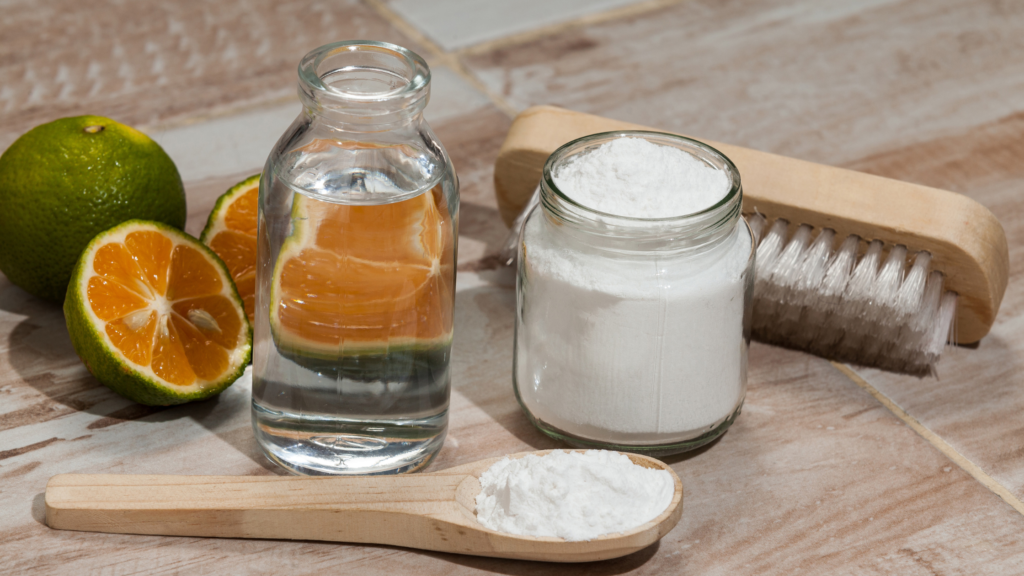
Now, when it comes to choosing suitable cleaning agents, think of it like casting the perfect ingredient in a recipe. Not too harsh, not too gentle – just right!
Opt for mild cleaning agents that won’t harm your mixer’s delicate surfaces. Avoid abrasive scouring pads that might leave scratches and battle scars.
Remember, we want your stand mixer to shine like a star, not look like it survived a culinary war!
And here’s a bonus tip – don’t forget those hidden nooks and crannies! Give those sneaky corners some attention too.
A soft toothbrush or a cotton swab will be your ally in reaching those tight spots. Your mixer will thank you for it!
With our cleaning prowess on full display, we can confidently say that your stand mixer will be the belle of the baking ball.
From regular wipe-downs to handling those tougher stains with grace, you’ve got all the tools in your cleaning kit to keep your mixer looking and performing like a true kitchen superstar.
So, now that the exterior is shining, it’s time to venture deeper into the mixer’s realm. The attachments and the bowl await our cleaning magic!
Fear not, intrepid bakers, for we’re here to guide you through every step of the way.
Cleaning the Attachments
The time has come to show those attachments some well-deserved love and attention!
They’ve been working hard by your side, helping you create culinary masterpieces, and now it’s their turn to bask in the glory of a thorough cleaning.
Disassembling attachments safely
Disassembling attachments safely is like solving a kitchen puzzle – a rewarding and satisfying experience!
Each attachment has its own special way of coming apart, so consult your mixer’s manual for the secret handshake of disassembly.
Gently release the attachments from their mixer embrace and get ready to give them a spa day they won’t forget!
Handwashing vs. dishwasher usage
Now, let’s talk about the age-old debate – handwashing vs. dishwasher usage.
Like choosing between vanilla and chocolate, it all comes down to personal preference (and maybe a sprinkle of practicality).
If you’re feeling hands-on, a warm soapy bath in the sink is the way to go.
Use a soft sponge or cloth to cleanse away any food residue and ensure each attachment is gleaming like a star.
But if you’re all about that dishwasher life, that’s cool too!
Many modern stand mixer attachments are dishwasher-safe but always double-check the manual to make sure your particular attachments are ready for that sizzling dishwasher dance party.
Just be sure to arrange them in a way that prevents any clinking and clanking, so they don’t get chipped or scratched during the dishwasher fiesta.
Drying and storing attachments properly
Drying and storing attachments properly is like tucking your attachments in for a cozy kitchen slumber.
After their cleaning extravaganza, give them a pat-down with a dry towel or let them air dry like a cool summer breeze.
Make sure they’re completely dry before storing them away. Moisture is the enemy of kitchen gear!
When it’s time to put them to bed (or to the cabinet, rather), find a dedicated spot to keep them organized and protected.
Some mixers come with nifty storage solutions, but if not, you can use a drawer or a cute container to keep them cozy and scratch-free.
And remember, dear kitchen companions, the better you care for your attachments, the longer they’ll stick by your side, churning out delightful dishes and desserts.
So, embrace your inner attachment cleaning guru, and your stand mixer will thank you with years of faithful service.
Now that we’ve pampered those attachments to perfection, there’s one more cleaning adventure left to tackle – the mighty bowl and beater!
Get ready for some serious scrubbing action as we take on those doughy remnants and batter remnants.
Cleaning the Bowl and Beater
Ah, the crown jewels of your stand mixer – the bowl and beater!
They’ve been through thick and thin with you, whipping up dreams and making culinary magic happen.
Now, it’s time to give them the royal treatment they deserve with some good ol’ cleaning and pampering!
Removing the bowl safely
Removing the bowl safely is like unlocking the treasure chest of your mixer’s heart.
Each stand mixer has its own unique way of releasing the bowl from its embrace, so consult your mixer’s manual for the secret handshake of detachment.
Once you’ve mastered the art of bowl liberation, handle it with care, like cradling a precious gem. Those bowls can be delicate, so no roughhousing is allowed!
Related: Are Stand Mixer Attachments Universal?
Soaking and scrubbing the bowl
Now, let’s dive into the spa session for your bowl.
It’s time for a soak and scrub that’ll leave it shining like a diamond! Fill your sink with warm soapy water, and let the bowl bask in its luxurious bath.
While it’s taking a little soak to relax, grab your soft sponge or brush and get ready to give it a gentle scrub.
Bid adieu to any stubborn residue, and watch your bowl transform into a glistening beauty once more!
Cleaning the beater and its various types
Ah, the beater – that trusty companion that has mixed and mingled with countless ingredients.
Cleaning the beater is like wiping the slate clean for your next baking adventure!
Whether you have a standard beater, a whisk, or a dough hook, they all need a little TLC.
For standard beaters and whisks, a warm soapy bath and a good scrub will do the trick. Give them a little love and attention, and they’ll be ready for their next beating mission.
As for the dough hook, it’s seen some tough times with those stubborn doughs, but fear not – it’s up for the challenge!
Soak it in warm soapy water to loosen any clinging dough bits, and then grab a soft brush to gently coax them away.
You’ll have your dough hook looking as good as new in no time!
Remember, my kitchen comrades, each attachment plays a vital role in your culinary escapades, so keeping them clean and well-maintained ensures they’ll continue to be your trusty sidekicks for years to come.
Now that we’ve polished the bowl and given the beater some much-deserved attention, we’re well on our way to stand mixer perfection.
But wait, we’re not done yet! There’s one more chapter to explore – the hidden secrets of the stand mixer’s interior.
So buckle up and stay with us as we venture deeper into the heart of your mixer to ensure it’s ready for any baking quest that lies ahead.
Dealing with Tough Buildup
Ah, the notorious tough buildup – the arch-nemesis of every kitchen hero!
But fear not, my valiant bakers, we’re armed with the knowledge and wisdom to take on these stubborn foes and emerge victorious!
Handling grease buildup
First up, the grease buildup – that sneaky enemy that likes to hide in the nooks and crannies of your mixer. It’s like a relentless sauce that just won’t budge.
But don’t worry, we have a secret weapon – vinegar! Yep, that humble pantry staple is here to save the day.
Grab a cloth soaked in vinegar and gently wipe away the grease.
It’s like a magical potion that cuts through the grime, leaving your mixer shining like new.
Tackling flour and dough residue
Next on our hit list is the flour and dough residue – those pesky remnants of past baking battles that cling to your mixer like a determined flour cloud.
But fret not, because we have another ally – baking soda! Create a paste of baking soda and water, and gently massage it onto those stubborn areas.
With a little patience and love, your mixer will be a clean canvas once more.
Removing stubborn stains
Now, let’s talk about those stubborn stains that refuse to disappear, no matter how many baking spells you cast.
But worry not, my kitchen wizards, we have the ultimate cleaning potion – a mixture of lemon juice and salt!
Apply this magical elixir to the stains and let it work its sorcery. The acidity of the lemon and the abrasive salt will join forces to banish those stains from existence!
With our arsenal of cleaning tricks and tips, there’s no tough buildup that can stand in our way. We’re like a fearless army, ready to conquer any culinary grime that dares to challenge us.
But wait, there’s more! Before we wrap up this epic cleaning adventure, we have some kitchen tales to share – stories of brave bakers who faced their own cleaning quests and emerged triumphant.
So gather ’round, my kitchen companions, and let these anecdotes inspire and entertain you!
Now that we’ve cleaned and conquered, it’s time to pat ourselves on the back and revel in the glory of our gleaming stand mixer.
But the journey doesn’t end here – oh no! There’s one final step to ensure your mixer stays in tip-top shape, ready to whisk and knead to your heart’s content.
Onward, fearless bakers, to the realm of stand mixer maintenance! Let’s keep the kitchen magic alive and baking dreams coming true! Let’s go!
Cleaning the Stand Mixer’s Interior
Ah, my intrepid kitchen explorers, we’ve reached the heart of the stand mixer – the mysterious and elusive interior!
It’s time to venture into the belly of the beast and ensure every nook and cranny is as pristine as a freshly baked pie crust!
Tips for cleaning under the motor head
Cleaning under the motor head is like venturing into a hidden cave, but with the promise of a sparkling treasure awaiting us!
Here’s a secret trick – tilt the motor head back and give it a gentle shake to dislodge any sneaky crumbs or spills.
But wait, don’t stop there!
Grab a soft brush or a lint-free cloth and carefully sweep away any remaining particles. It’s like giving your mixer a much-needed spa day from the inside out!
Dealing with spilled ingredients
Oh, those accidentally spilled ingredients – they happen to the best of us, my fellow kitchen warriors!
But fear not, we’ve got a battle plan for that too.
Whether it’s flour or sugar that decided to stage a kitchen coup, grab your trusty vacuum or a handheld brush to suck up those rogue particles.
Say goodbye to those spills, leaving your stand mixer ready for its next epic culinary adventure.
Regular maintenance for smooth operation
Now, let’s talk about the key to a long and harmonious relationship with your stand mixer – regular maintenance.
It’s like giving your mixer a well-earned vacation after each culinary conquest.
Keep those moving parts happy and well-lubricated by following the manufacturer’s guidelines.
Check for any loose screws or bolts and tighten them up gently – we don’t want any mixer mishaps while whipping up a cake masterpiece!
And here’s a pro tip – create a regular maintenance schedule, like a date with your mixer. It could be once a month or after a certain number of baking sessions.
Mark it on your calendar like a kitchen commandment, and your mixer will thank you with smooth and reliable operation for years to come!
With the interior sparkling like a starry night sky, we can proudly say we’ve conquered every cleaning quest that came our way.
Your stand mixer is now a gleaming beacon of baking brilliance, ready to take on any recipe you throw its way!
But our journey doesn’t end here, dear bakers. Oh no!
The world of stand mixers is vast and ever-changing, and there’s always something new to explore and learn.
So, as we bid farewell to our epic cleaning adventure, remember to keep the kitchen magic alive in your culinary endeavors.
Keep whisking, kneading, and mixing your way to delicious creations, and always remember that your stand mixer is your steadfast kitchen companion.
Onward to the kitchen wonderland! Let’s keep the baking dreams alive! Let’s go!
Maintaining the Stand Mixer
Ah, my baking apprentices, we’ve mastered the art of cleaning, but the quest for stand mixer greatness doesn’t end there!
Now, it’s time to delve into the realm of maintenance – the secret to keeping your stand mixer happy, healthy, and always ready for a baking adventure!
Lubricating moving parts
Lubricating moving parts is like giving your mixer a magic potion to ensure smooth and effortless performance.
Every machine loves a little oil massage, and your stand mixer is no exception! Check your mixer’s manual to find the designated lubrication points, and with a gentle hand, apply a few drops of food-grade lubricant.
A sprinkle of care will keep those moving parts dancing in harmony, creating a symphony of mixing perfection!
Read: Why Does My Stand Mixer Leak Oil?
Checking for loose screws and bolts

Next up, a knightly inspection for loose screws and bolts!
Just like a knight checks their armor before heading into battle, you too should examine your stand mixer for any loose parts.
Gently go over each screw and bolt, tightening them up as needed.
Remember, it’s all about gentle love – no need to over-tighten and risk any mixer mishaps!
Following the manufacturer’s maintenance guidelines
Now, let’s heed the wise advice of the manufacturer – they know your mixer better than anyone! Those maintenance guidelines are like a treasure map to a long and happy mixer life.
Whether it’s how often to lubricate, when to replace parts or any other special instructions, following these guidelines is the key to keeping your mixer’s magic alive!
And here’s a pro tip – create a mixer maintenance journal! Yes, it’s like a mixer diary where you can keep track of all your maintenance adventures.
Jot down the date of each lubrication, tighten-up session, and any other wizardry you perform.
It’ll be your mixer’s very own storybook, and it’ll ensure you never miss a beat in your maintenance game!
With our maintenance skills honed to perfection, your stand mixer is now equipped to stand the test of time and keep those scrumptious creations flowing for years to come!
But our journey doesn’t end here, my kitchen companions! As we conclude this maintenance chapter, remember that your stand mixer is a culinary wizard’s most trusted tool.
Treat it with love, respect, and a dash of playfulness, and it’ll reward you with countless batches of baking delights.
Onward to the next chapter of your stand mixer’s epic saga! Let’s go!
Avoiding Common Mistakes
Ah, my kitchen warriors, as we tread the path of stand mixer mastery, let us not forget the common pitfalls that may lie in wait.
Knowledge is power, and we shall arm ourselves with the wisdom to steer clear of these baking booby traps!
Using the stand mixer at excessively high speeds
First on our watchlist is the temptation to go full throttle on those mixer speeds.
Oh, it’s easy to get carried away, especially when that dough needs to be kneaded to perfection or those egg whites must achieve heavenly peaks.
But hold your whisks! Using the stand mixer at excessively high speeds may lead to overmixing, and we all know that overmixed batters and doughs can be a baking bummer!
Embrace moderation, my bakers, and remember that sometimes a gentle whisk or knead is all your recipe needs.
Submerging the stand mixer in water
Next, let’s talk about a cardinal sin in the world of stand mixers – submerging it in water.
As much as we’d love to give our mixers a spa day in a bubbly bath, it’s an absolute no-no!
Remember the golden rule – water and electricity don’t mix. Instead, opt for spot cleaning with a damp cloth or a brush.
Keep those electrical parts high and dry, and your mixer will thank you with many more baking escapades.
Neglecting to clean after each use
Ah, the busy baker’s dilemma – to clean or not to clean after each use.
We get it, after whipping up a culinary masterpiece, the last thing you want to do is face the sink full of dishes.
But trust us, dear bakers, a little post-baking cleaning goes a long way!
Neglecting to clean your stand mixer after each use may lead to hardened residue and gunk buildup, and that’s the recipe for a sticky mess!
Embrace the habit of giving your mixer a quick wipe-down and pampering after every baking session. It’ll keep your mixer pristine and ready for its next delicious mission.
Armed with this knowledge, we shall navigate the baking realm with grace and finesse, avoiding the traps that may ensnare the unprepared.
Your stand mixer will be your loyal companion, ready to whisk, knead, and mix with ease, making your baking adventures truly legendary!
As we embark on our final chapter, let us celebrate the stand mixer in all its glory – the workhorse of the kitchen, the wizard of dough, the champion of batters!
So, keep those apron strings tied tight, and let the kitchen magic continue as we venture into the realm of storing and caring for your stand mixer.
Onward, brave bakers! Let’s seize the baking day! Let’s go!
Storing the Stand Mixer Properly
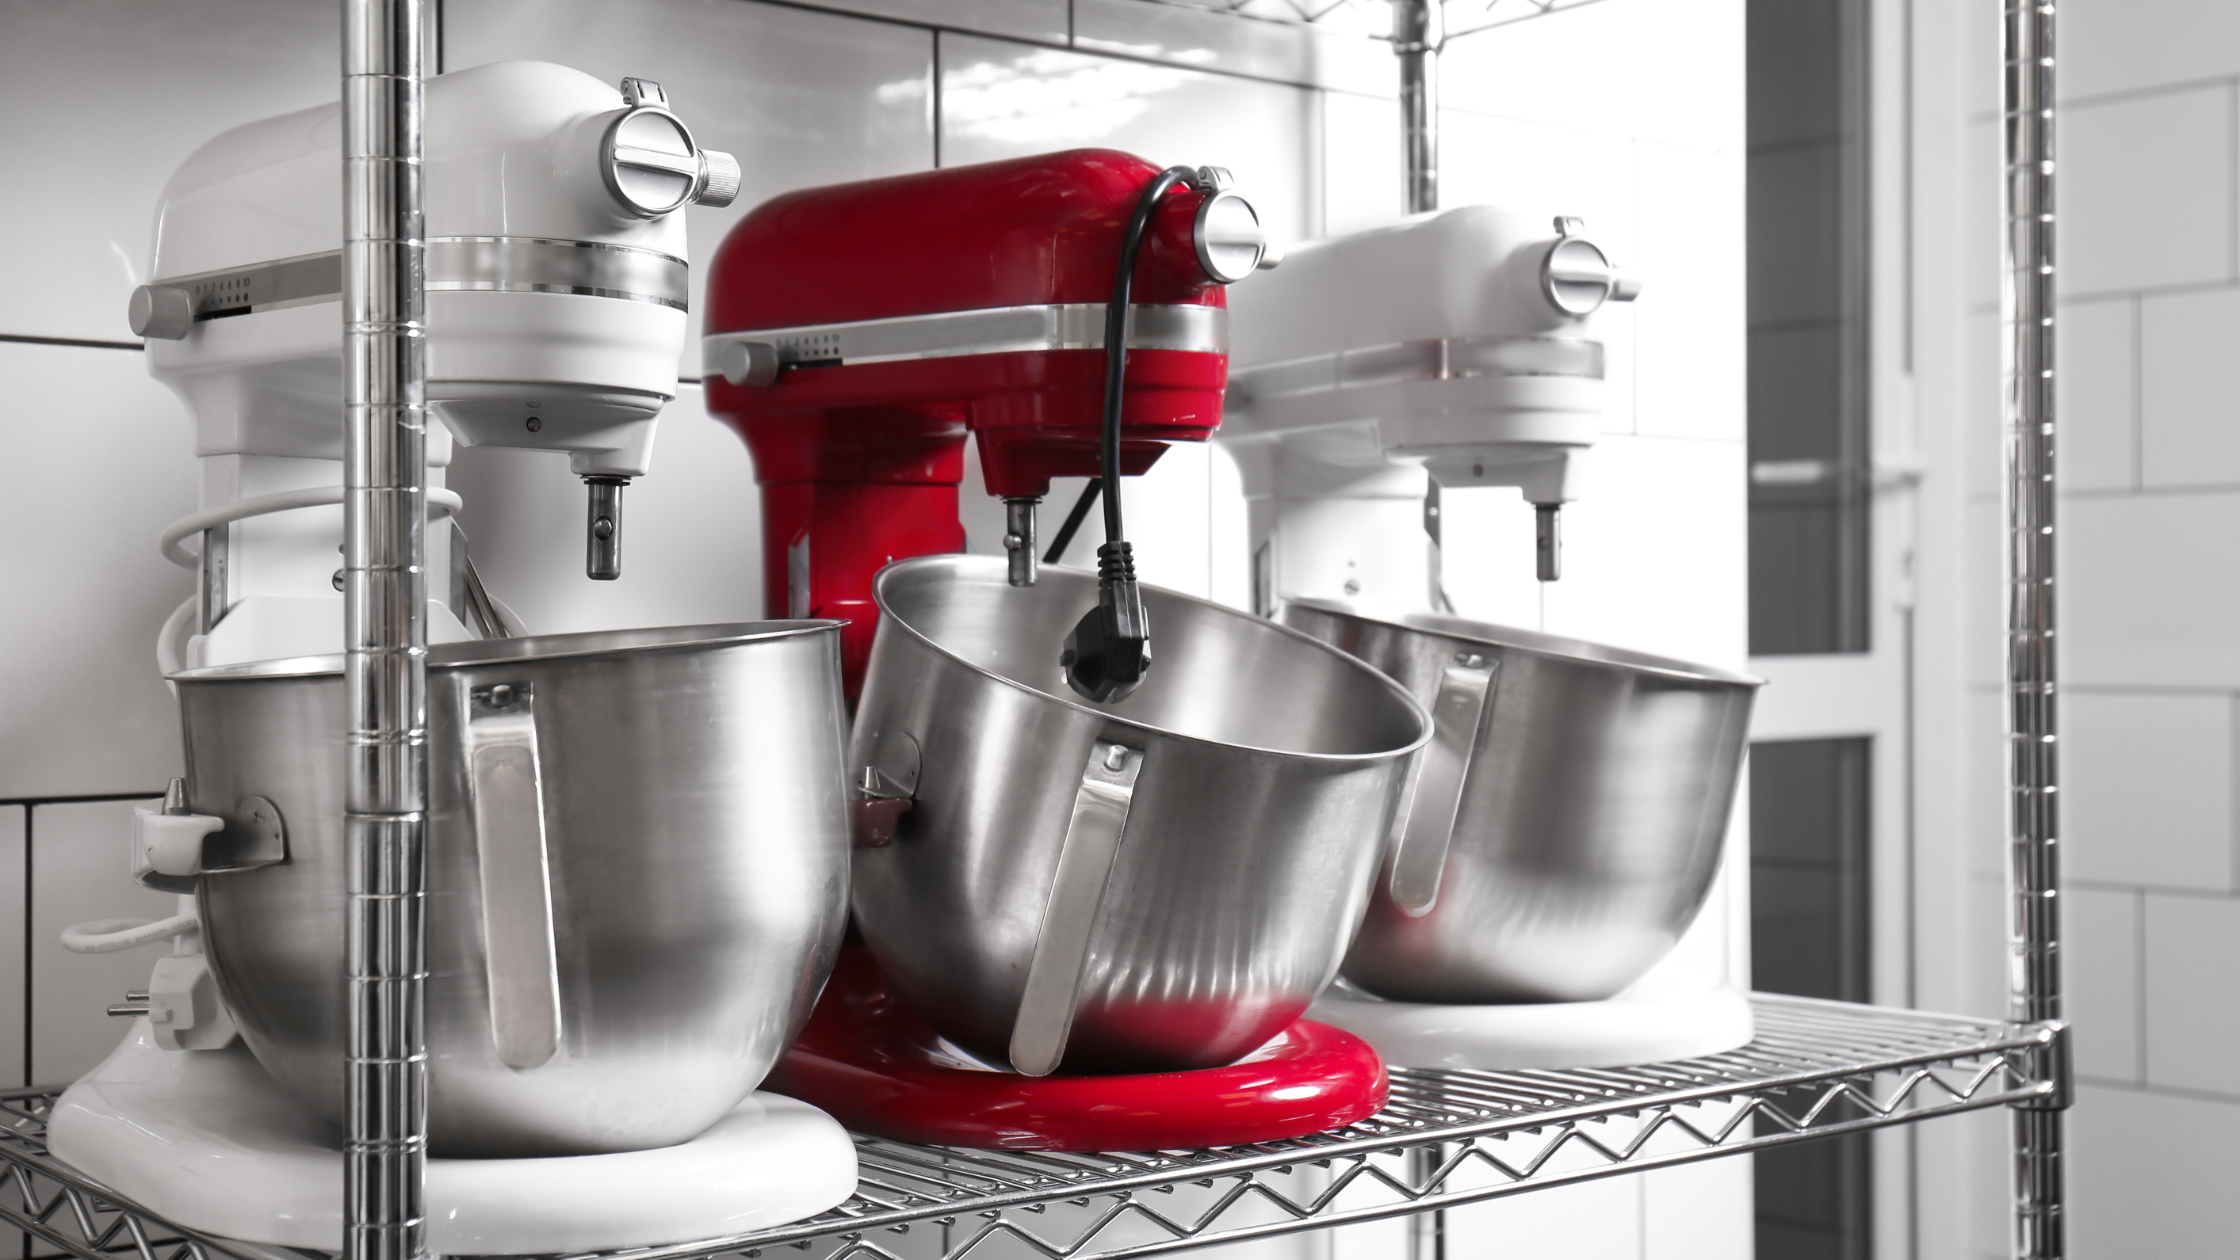
Ah, my baking comrades, as our stand mixer cleaning and maintenance saga nears its grand finale, it’s time to bestow upon our beloved mixer the care it deserves even during its moments of rest.
Let us embark on a journey to discover the secrets of proper stand mixer storage – the key to preserving its magic and keeping it ready for every culinary call to action!
Choosing an appropriate storage location
Choosing an appropriate storage location is like finding the perfect spot for your mixer to take a well-deserved break.
Think of it as finding a cozy nook for a cherished friend. Consider a spot on your countertop if your mixer is a frequent baking companion.
It’ll be within reach whenever the baking bug bites!
But if your mixer enjoys a more occasional rendezvous, a cupboard or pantry shelf will do just fine.
Just make sure it’s not crowded among other kitchen wares, as your mixer prefers its personal space to shine bright like the kitchen star it is.
Using dust covers for protection
Like donning a cape to protect a superhero from the elements, using dust covers for your stand mixer is a thoughtful gesture of love.
Dust covers shield your mixer from any pesky particles that might try to sneak in and settle on its shiny surface.
A simple cloth cover or a dedicated mixer cover will work wonders in preserving its charm and keeping it pristine until the next baking adventure.
Keeping accessories organized
Oh, the joy of having a collection of mixer accessories, each with its unique superpowers!
But as we know, with great attachments comes great responsibility.
To keep those attachments organized and ready for action, consider investing in a dedicated storage solution.
A drawer organizer or a cute container can keep them neatly arranged, avoiding any attachment tangling mishaps.
And don’t forget to keep the manual and any other essential mixer accessories nearby. They are like trusty sidekicks, ready to provide support whenever you need it.
With your mixer and its accessories in harmonious order, you’ll be ready to take on any recipe challenge like a true culinary superhero!
As we conclude our storied journey through the realm of stand mixer care, let us remember that a well-pampered and organized mixer is the gateway to endless culinary possibilities.
A simple act of love and thoughtful storage will keep your mixer’s magic alive, inspiring you to create one scrumptious delight after another.
So, dear bakers, may your stand mixer continue to be the centerpiece of your kitchen adventures, a beacon of baking brilliance, and a steadfast companion through every culinary conquest.
As you embark on future baking quests, let the heart of your kitchen, your stand mixer, be your guiding star.
Troubleshooting and Repairs
Even the mightiest of stand mixers may face challenges on their culinary crusades.
But fear not, for we shall equip you with the knowledge to troubleshoot and conquer any hurdles that come your way.
Let’s venture into the realm of stand mixer troubleshooting and repairs – the path to reclaiming your mixer’s full potential!
Identifying common issues
Identifying common issues is like deciphering a secret recipe – it requires keen observation and a dash of detective work. Is your mixer making strange noises, like a culinary symphony gone awry?
Is it struggling to mix, like a baking warrior weighed down by a heavy dough?
Fear not, for we shall guide you through the maze of mixer mysteries, helping you pinpoint the root of the problem.
DIY fixes and when to seek professional help
But wait, before we rush to seek professional help, there’s a brave world of DIY fixes that you can explore!
Like a resourceful kitchen wizard, you can often tackle common mixer mishaps yourself.
Tightening a loose screw, adjusting the speed control, or replacing a worn-out part might be within your baking prowess.
With a little guidance and a sprinkle of confidence, you’ll find that many mixer maladies can be vanquished with your own kitchen magic.
However, there may come a time when the challenge exceeds your baking abilities, and that’s okay!
When in doubt, it’s wise to call upon the expertise of professional help.
Just like seeking a master baker’s advice for a complex recipe, a skilled technician can work wonders in bringing your mixer back to life.
Remember, knowing when to ask for help is a sign of a true culinary hero!
Warranty and servicing options
Now, let’s talk about warranties and servicing options – like an insurance policy for your mixer’s well-being.
Many mixers come with a trusty warranty that covers repairs and replacements for a specific period.
Always keep your warranty information safe, like a cherished family recipe, and read it carefully to understand the terms and conditions.
And for those mixers that have journeyed beyond their warranty period, fear not, for there are still options to explore.
Many manufacturers offer servicing and repair centers that can breathe new life into your mixer. Like taking your mixer to the spa, these experts can work their magic and restore your mixer’s former glory!
With our troubleshooting skills honed and the repair options at hand, we are well-prepared to face any mixer challenge that may arise.
Your stand mixer shall remain a culinary champion, a mixer of dreams, and a steadfast companion through every baking adventure!
As our grand finale approaches, let us celebrate the resilience of our stand mixers and the baking wonders they bring to life.
Embrace every baking mishap as an opportunity to learn and grow, and always remember that a well-cared-for mixer will stand by your side through countless culinary triumphs.
Onward, my baking companions! Let’s face any challenge that comes our way and keep the kitchen magic alive! Let’s go!
Conclusion
Ah, my fellow baking enthusiasts, our grandstand mixer saga nears its delightful conclusion.
We’ve journeyed through the realms of cleaning, maintenance, troubleshooting, and repairs, unlocking the secrets to keeping our mixers in top-notch shape.
Now, as we bid adieu to this epic adventure, let’s recap the invaluable lessons we’ve learned and equip ourselves for endless kitchen magic!
Recap of the importance of cleaning your stand mixer
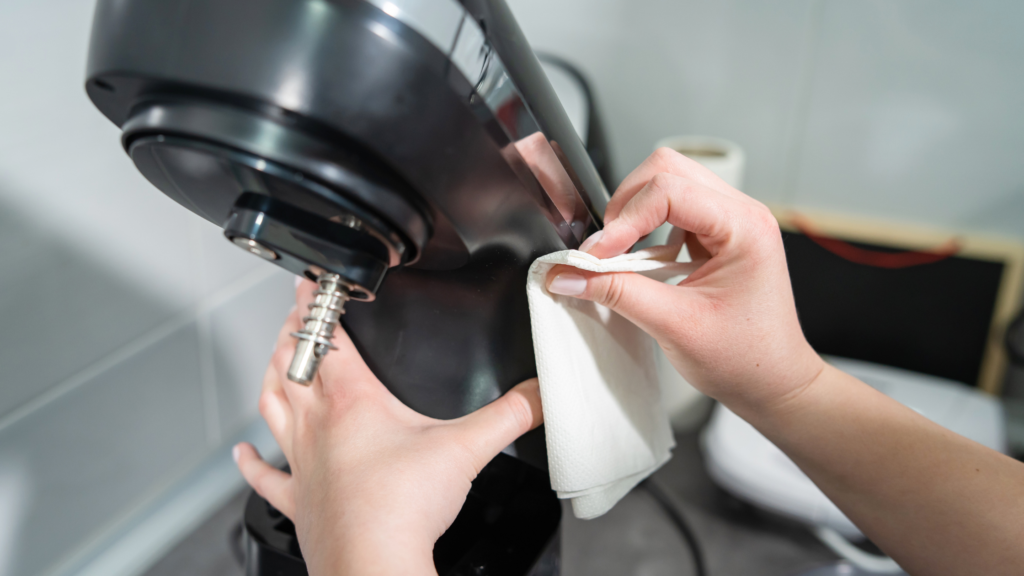
Cleaning your stand mixer – the unsung hero of every culinary conquest – is like embracing a culinary ritual of love and respect.
From the exterior to the attachments, from the bowl to the beater, every part deserves a gentle touch and a dash of care. Regular cleaning not only ensures your mixer looks its best but also guarantees smooth and efficient performance.
So, remember, a clean mixer is a happy mixer, ready to whisk and knead its way to kitchen greatness!
Encouraging regular maintenance for optimal performance
Regular maintenance – the heart of stand mixer longevity – is like a promise of endless baking wonders.
Lubricating those moving parts, checking for loose screws, and following the manufacturer’s guidelines are like the magical spells that keep your mixer dancing to your baking tune.
Embrace the habit of scheduled maintenance like a sacred ritual, and your mixer will be your ever-faithful kitchen companion for years to come.
Final tips for a spotless and efficient stand mixer
And as we embark on our culinary quests, let’s carry with us some final tips for a spotless and efficient stand mixer.
Keep safety in mind, unplugging your mixer before cleaning and avoiding water contact with electrical parts. Use appropriate cleaning agents, avoid excessive mixer speeds, and never submerge your mixer in water.
Organize your accessories and store your mixer with care, using dust covers to protect it from dust and debris.
With these golden nuggets of stand mixer wisdom, we’re ready to conquer the baking world with confidence, creativity, and a mixer that’s always in top form.
Whether you’re whisking up a batch of heavenly cupcakes or kneading dough for a rustic loaf, your stand mixer shall be your unwavering ally.
As we part ways, my kitchen comrades, let us celebrate the magic of the stand mixer – the guardian of baking dreams, the mixer of joy, and the heartbeat of every kitchen adventure.
May your baking endeavors be filled with laughter, inspiration, and the joy of creating delicious delights!
Now, go forth with your aprons fluttering like victory flags and your mixers shining like beacons of culinary brilliance. The world of baking awaits, and you, my baking warriors, are ready to conquer it all!

